Step 1 – Check and Confirm Timesheets
A roster entry creates both an Invoice and Payslip once payroll approved. Roster Entries are ready for payroll once the Client has accepted the roster, the staff member has accepted the roster and the roster is Time sheet Confirmed. (the three tick boxes as shown below):
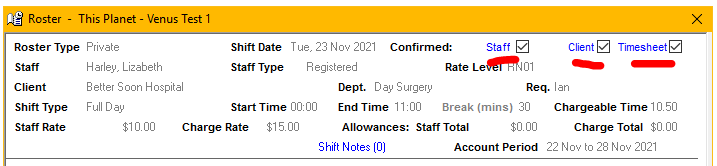
To check your rosters and to update them to payroll ready:
- Use the Roster Filters, or month view to select roster entries for a Nurse, Hospital and date.

- Select the status you wish to work on (Staff not confirmed, Client not confirmed, Timesheet not confirmed) and review the roster information and allowances to ensure they match Timesheet. Add or update Nurse Pay Adjustments. Automated Nurse Pay Adjustments (client dictated) will be applied, where appropriate. Tick Timesheet Confirmed or update the roster to match the timesheet before confirming the Timesheet (The timesheet tick box in the upper right).
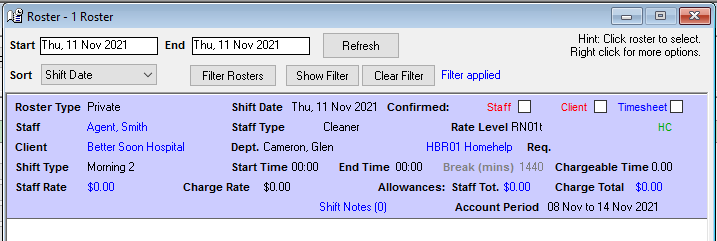
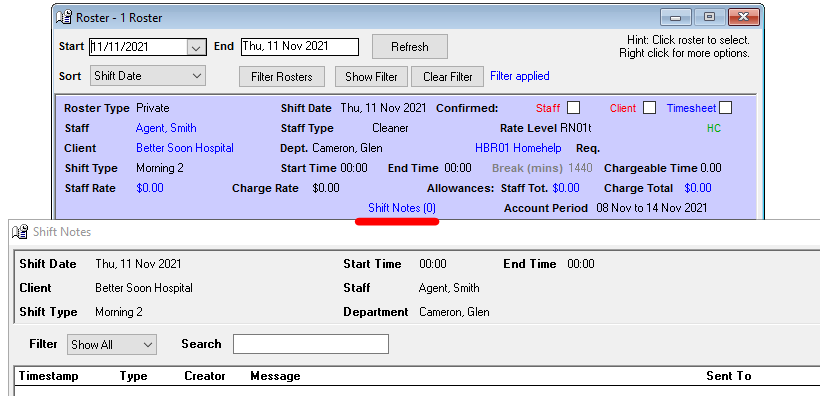
- A shift note can be added to detail any changes to the roster, by clicking the blue text "Shift Notes" and adding the note to the resulting screen.
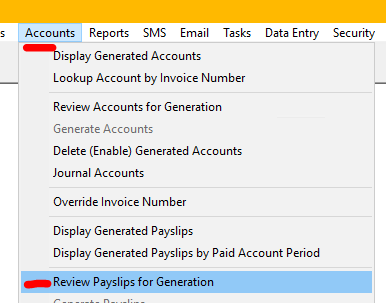
- When all Rosters in the required date range have been have been reviewed and confirmed, and new Nurse Pay Adjustments have been recorded, you are ready to run payroll by selecting "Review Payslips for Generation".
Important Note
If a payslip is not correct and a Roster entry needs to be amended close the Review Payslips screen and go to the Roster screen. Update or add roster entries as required. Ensure the Confirmed Timesheet box is ticked and then continue to Review Payslips for generation.
Step 2 – Review Payslips for Generation
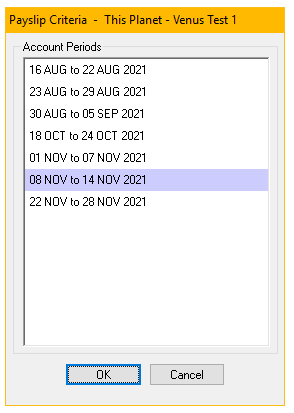
- Select the Account Period from the list
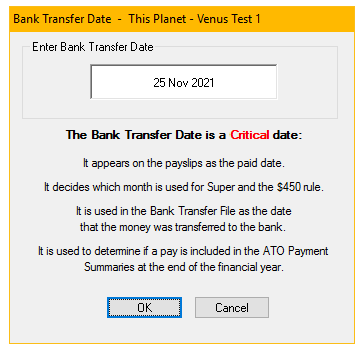
- The Bank Transfer Date window displays, this can be overtyped and must reflect the actual pay date for the ABA file.
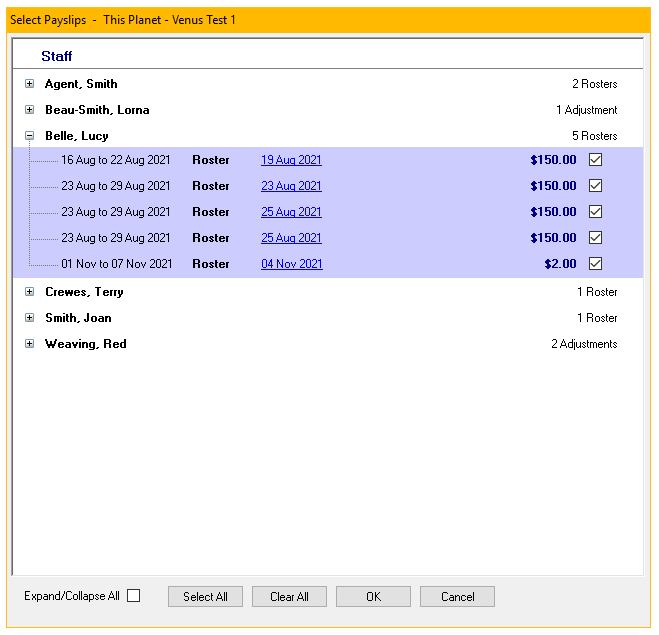
- A list of all Nurses to be paid is displayed. To exclude a Nurse or specific payments to a Nurse, remove the tick beside the payment. You can also include all, ore exclude all by clicking the "Select All" or "Clear All" to give you a full list or empty list to better fine tune the inclusions and exclusions from.
- Click OK to review the Summary of Payslips.
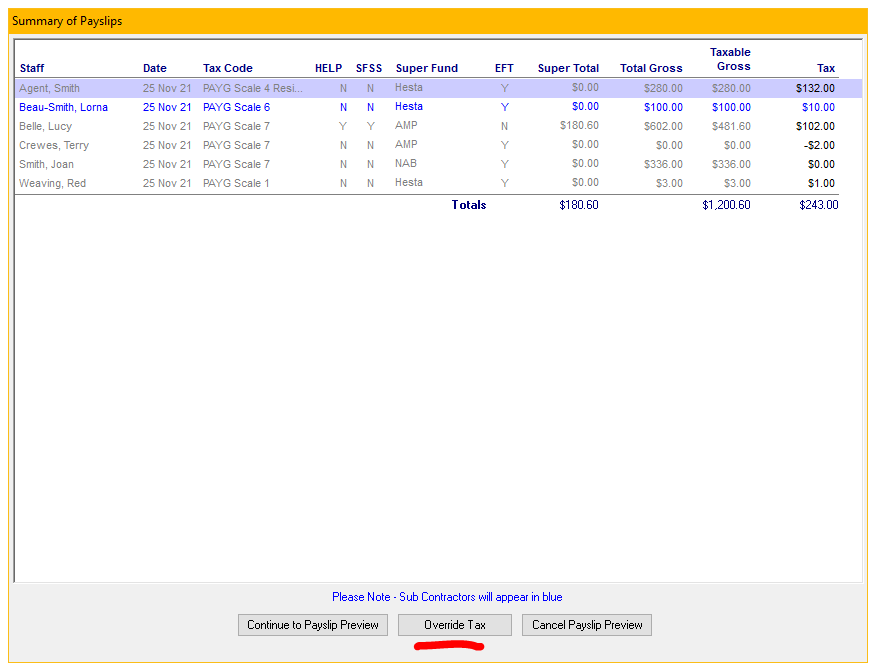
- There is an option to Override Tax on individual payslips, where required. Highlight the Nurse, select Override Tax, and type the new tax amount.
- Continue to Payslips Review.
- Use toolbar or the scroll bar to move through and review the payslips for accuracy.
- If all are correct you are ready to Generate Payslips.

Important Note
When generating payslips, you must first Review Payslips for Generation. Venus will not allow Payslips to be generated until they have been reviewed.
Step 3 – Generate Payslips
Accounts > Generate Payslips or select the Payslips toolbar icon.
The below process is linear and each prompt will follow the previous in the below order once "Generate Payslips" has been run:
- Payslips are generated from the Review Payslips screen.
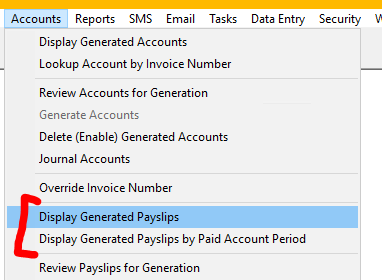
- Payslips can be printed now, or later Accounts > Display Generated Payslips
- When generating Payslips Venus will advise “All other users must be out of the Roster screen to create Bank Transfer Files for Payslips”
- When generating payslips Venus also creates the Bank Transfer File. The Bank Transfer File Report details who needs to be paid manually and who is included in the Bank Transfer File.
- Payslips are generated when the “Preview” watermark has been removed.
- Bank Transfer Summary details who is in Bank Transfer file and who need to be paid manually.
- Option to “Email Payslips Now”. Follow prompts.
Note:
Payslips can be printed or emailed from Accounts > Display Generated Payslips.
In Brief
- Accounts > Review Payslips for Generation.
- Select Account Period. Only Account Periods where Confirmed Timesheets are outstanding will be displayed.
- Bank Transfer Date – The Bank Transfer Date refers to the date the Nurses’ pays will be transferred into the Nurses’ bank accounts and is the Paid Date on the payslips.
- Payslips warning screen appears advising the payslips are now locked to other users until you either generate or exit the screen.
- Select Payslips window – Displays all Nurses with outstanding payslips.
- Modify the list of payslips to be reviewed and generated with Select All or Clear All. You can manually add or remove ticks.
- OK – To review Payslips.
- Cancel – To cancel enquiry and exit screen.
- Summary of Payslips – Displays a summary of each payslips to be generated and has the option of Overriding the Tax for individual payslips. Highlight the Nurse and change the tax amount as required.
- When ready to generate, select the Payslips icon on the toolbar or go to Accounts > Generate Payslips.
- If a correction needs to be made to a roster or nurse pay adjustment before generating payslips, close the screen and make the required change.
- Print Payslips
- Yes – If you would like to print the Payslips immediately.
- No – Payslips can be printed later.
- Generating Payslips message – WARNING: all users must be out of the roster screen to create Bank Transfer Files for Payslips.
- Bank Transfer Summary – The Bank Transfer File is created and a Bank Transfer Summary Report is created and displayed on screen.
- Payslips have been generated and the Bank Transfer File has been successfully created.
- Email Payslips – The final step in the payroll process. Email payslips now or later from Accounts > Display Generated Payslips.