Step 1 – Check and Confirm Timesheets
When a roster is timesheet confirmed it will be included on both the payslip and invoice.

- Shifts > Rosters (Or Ctrl + R)
- Use the Roster Filters and Sorting options to display rosters for a Nurse, Hospital and date range
- Review and amend rosters to ensure they match the Timesheets.
- A shift note can be added to detail any changes to the roster.
- Tick Timesheet Confirmed.
- Timesheet Confirmed must be ticked for the roster to be included in payroll and invoicing.
- When all timesheets have been reviewed and confirmed against the rosters you are ready to Review Accounts.

Step 2 – Review Accounts
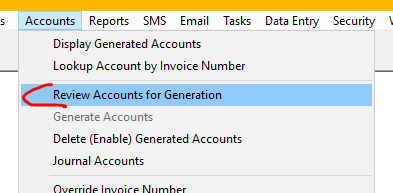
- Accounts > Review Accounts for Generation
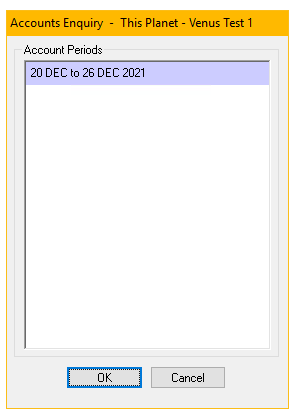
- Select Account Period.
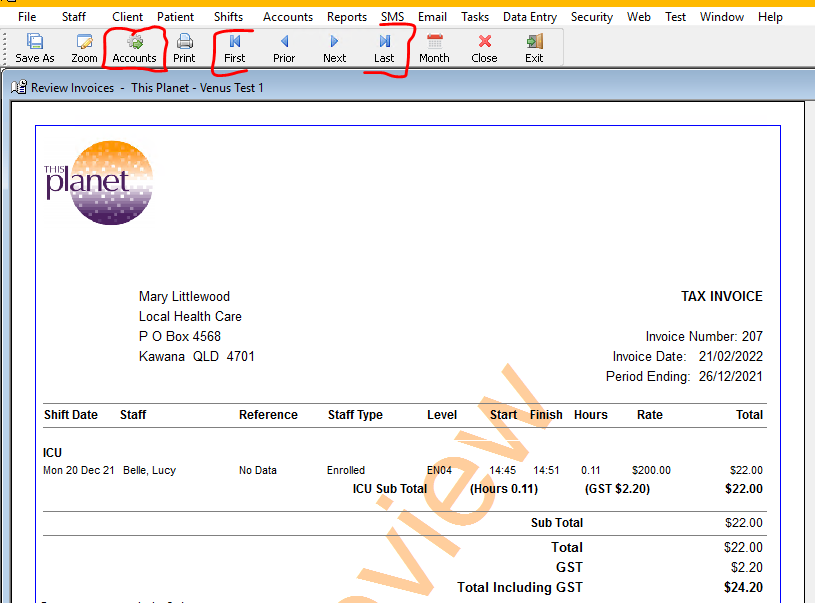
- List of Hospitals with outstanding invoices is displayed
- Invoices will have a “Preview” watermark to confirm they have not been generated.
- Use toolbar or the scroll bar to move through and review the invoices for accuracy.
- If all are OK you are ready to Generate Accounts.
- If not OK, close screen and make required changes to the roster(s) or Invoice Items etc.
Step 3 – Generate and Email Accounts
- Accounts > Generate Accounts or select the Accounts icon
- “All other users must be out of the Invoice, Rating and Roster Screens”.
- Option to Print Invoices if sending by post.
- Accounts are generated when the “Preview” watermark has been removed.
- Account Summary shows total of invoices generated.
- Option to “Email Invoice Now”. Follow prompts.